Prerequisite
You don’t need to be an engineer in embedded systems to understand this article. But here is a short list of the requirements to follow this tutorial:
- C programming basics
- No fear about Command line interfaces
- A Flipper Zero
- Interest in embedded development
You will need to flash the Flipper Zero, and this article doesn’t aim to troubleshoot your installation especially with windows drivers. If you have any problems with the connection between your computer and your device, please refer to the documentation.
Introduction
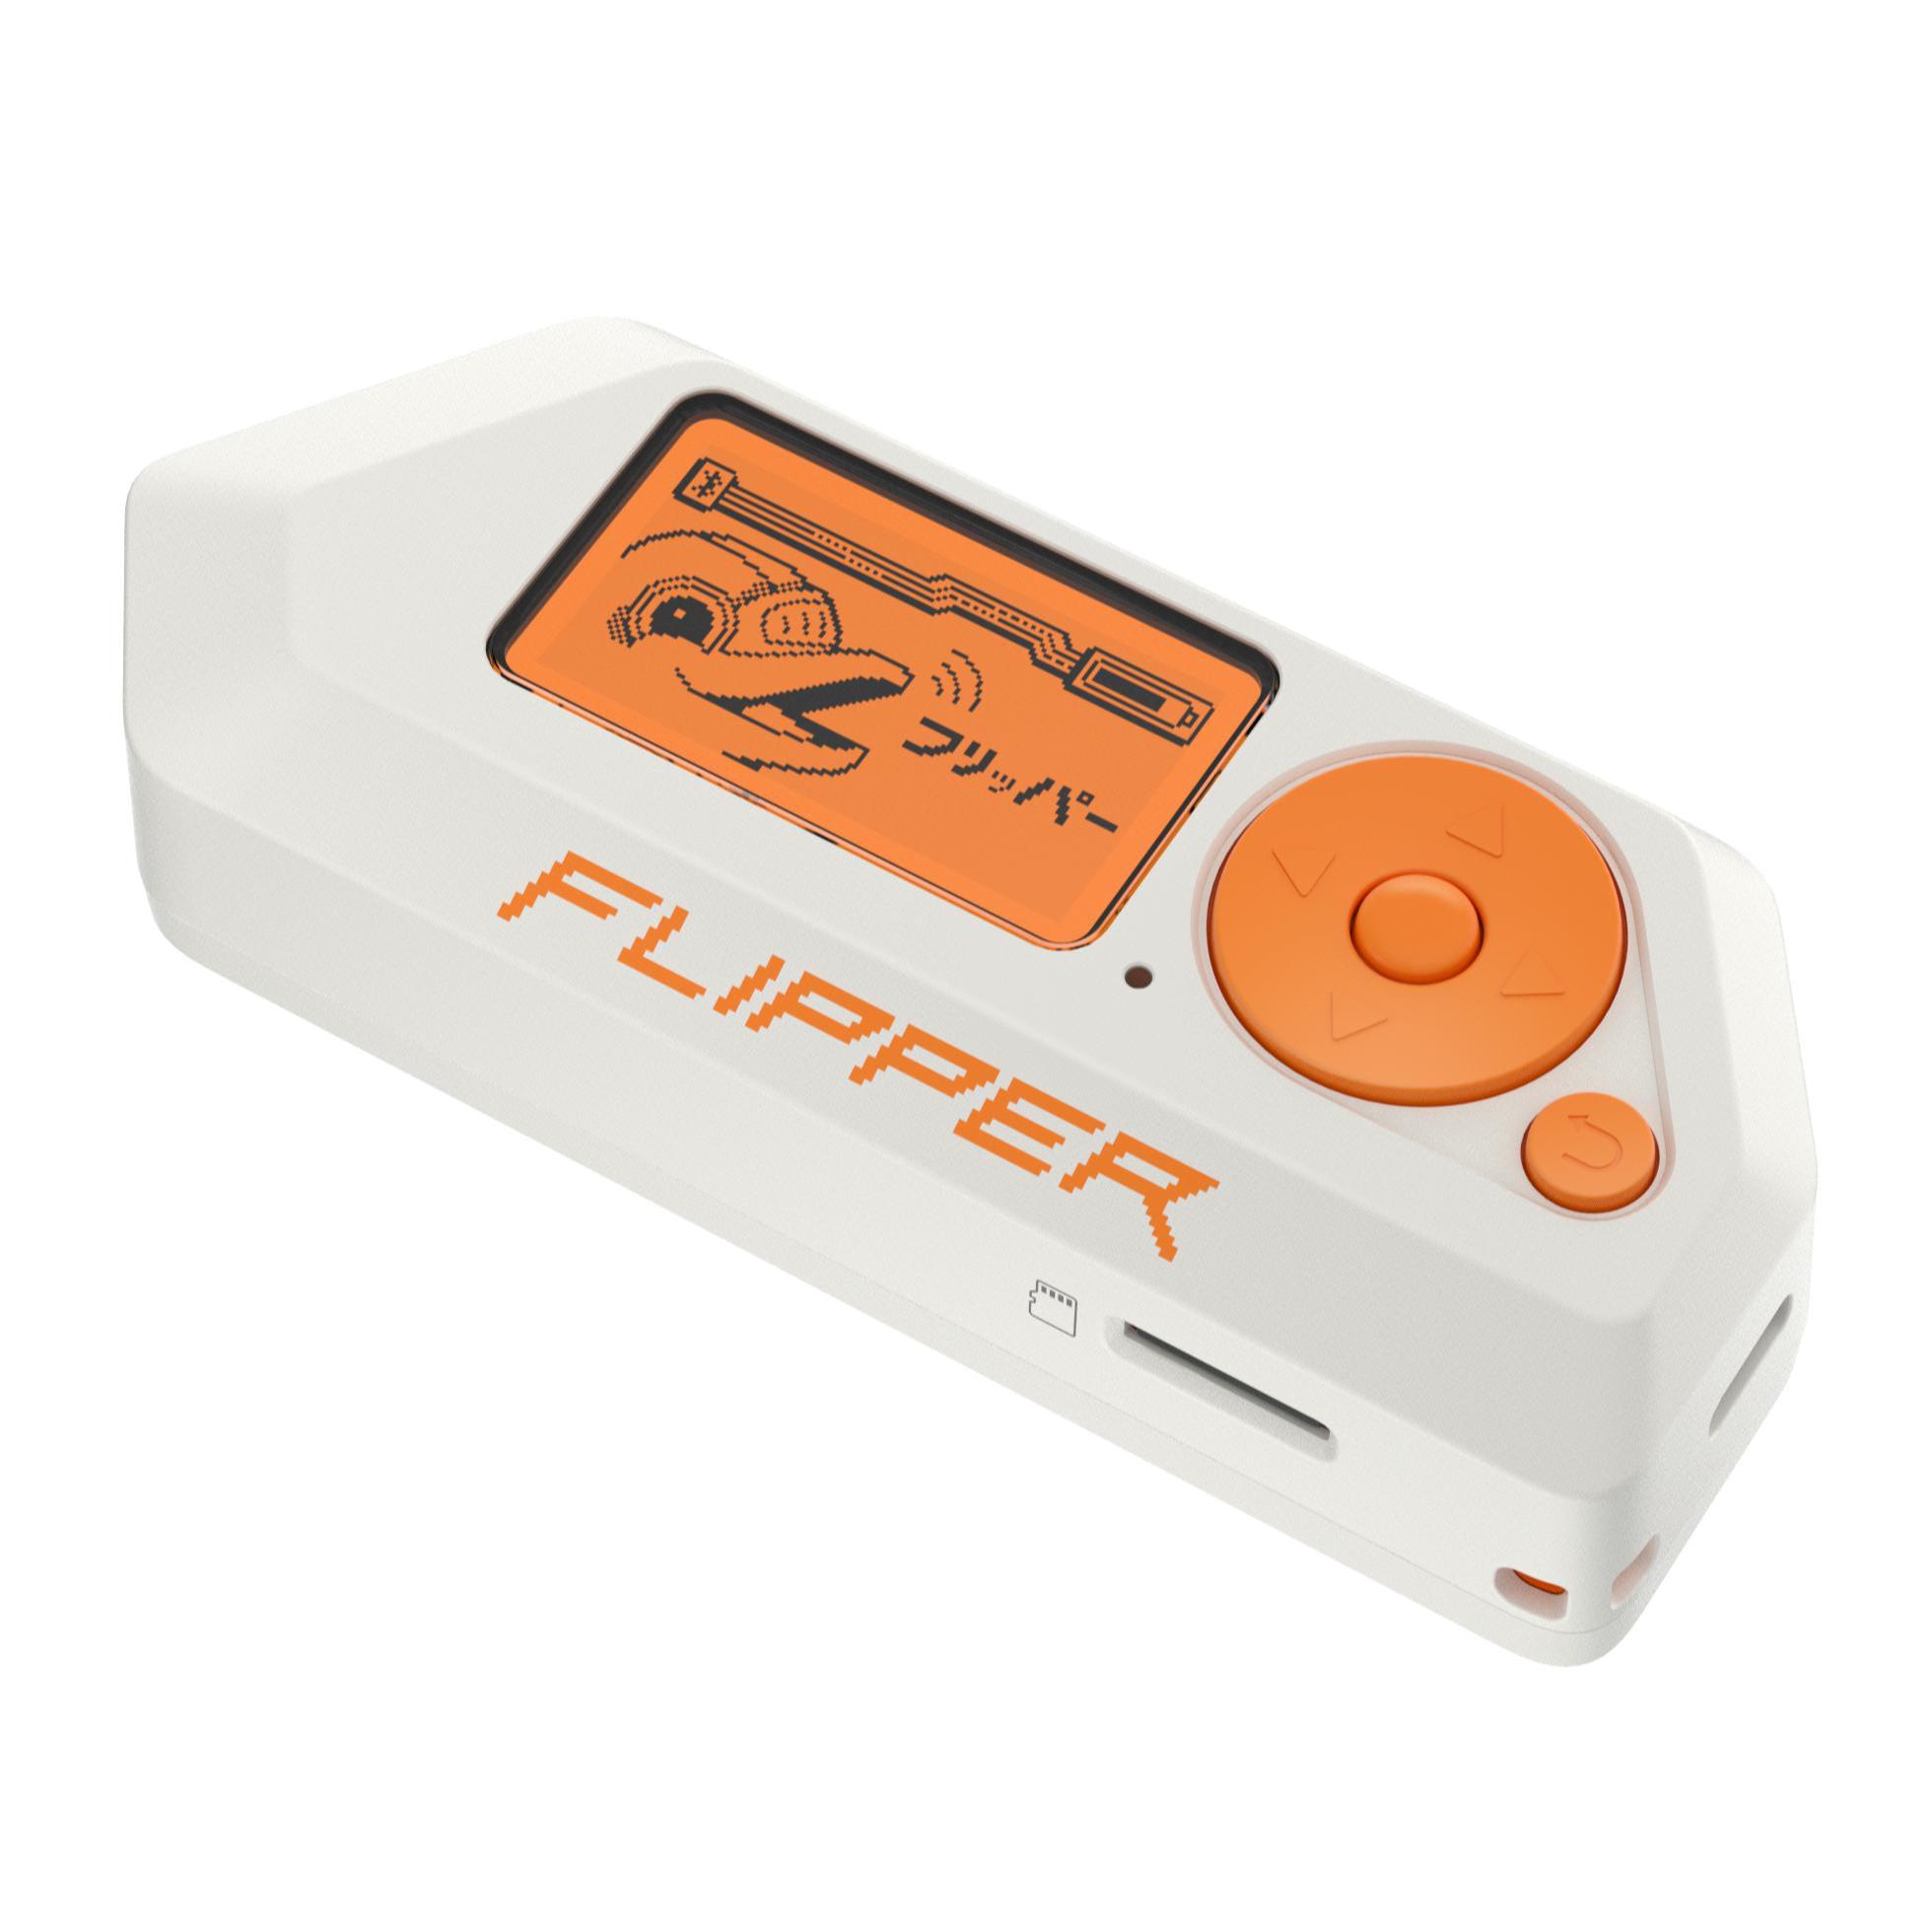
You heard about the Flipper Zero and bought it for fun. You played with it and now you want to develop your first application to take the full advantage of the device. You are entering in a beautiful world with awesome capabilities.
The Flipper Zero is a device which target cybersecurity enjoyers. It is a fully open-source project which is highly inspired by the pwnagotchi. You can, with some knowledge, build your own Flipper Zero from scratch. All the hardware schematics, case and firmware are available. Moreover, the community has very important part in the Flipper Zero, for example there are several awesome lists on Github.
Features
The Flipper Zero is packaged with several features.
- Sub-GHz: Interact with devices which communicate with radio signals like key of cars, gates, smart lights…
- RFID: Read, save or emulate RFID tag like access cards, animal microchips…
- NFC: Read, save or emulate NFC technologies like access cards, phone data transfer…
- Infrared: Interact with technologies that use infrared to control it like TV screens, LED stripes, multimedia systems…
- GPIO: Can be used to develop electronic circuits or use debug modules and external modules.
- Ibutton: Read, save or emulate Ibutton access control, meteo measurement…
- Bad USB: A rubber ducky like feature, perform keyboard typing when the device plugged by USB.
- U2F: Acting like a USB universal 2nd-factor.
- Controler: Can be used as a keynote or a keyboard, it is connected by Bluetooth.
Firmware and Softwares
Firmware
The official firmware of the Flipper Zero is fully open-source and documentation is quite complete now. The documentation consists in several Markdown files on all the interesting subjects and a doxygen.
There are other firmwares powered by the community which are available on Github. These firmwares aim to add animations, games and more efficient hacking applications.
Software
A desktop and a mobile application will help you to interact with your Flipper Zero.

The QFlipper is the desktop application which lets you upgrade the firmware with a USB-C connection. It also allows you to control your Flipper Zero and access to the files on your device.
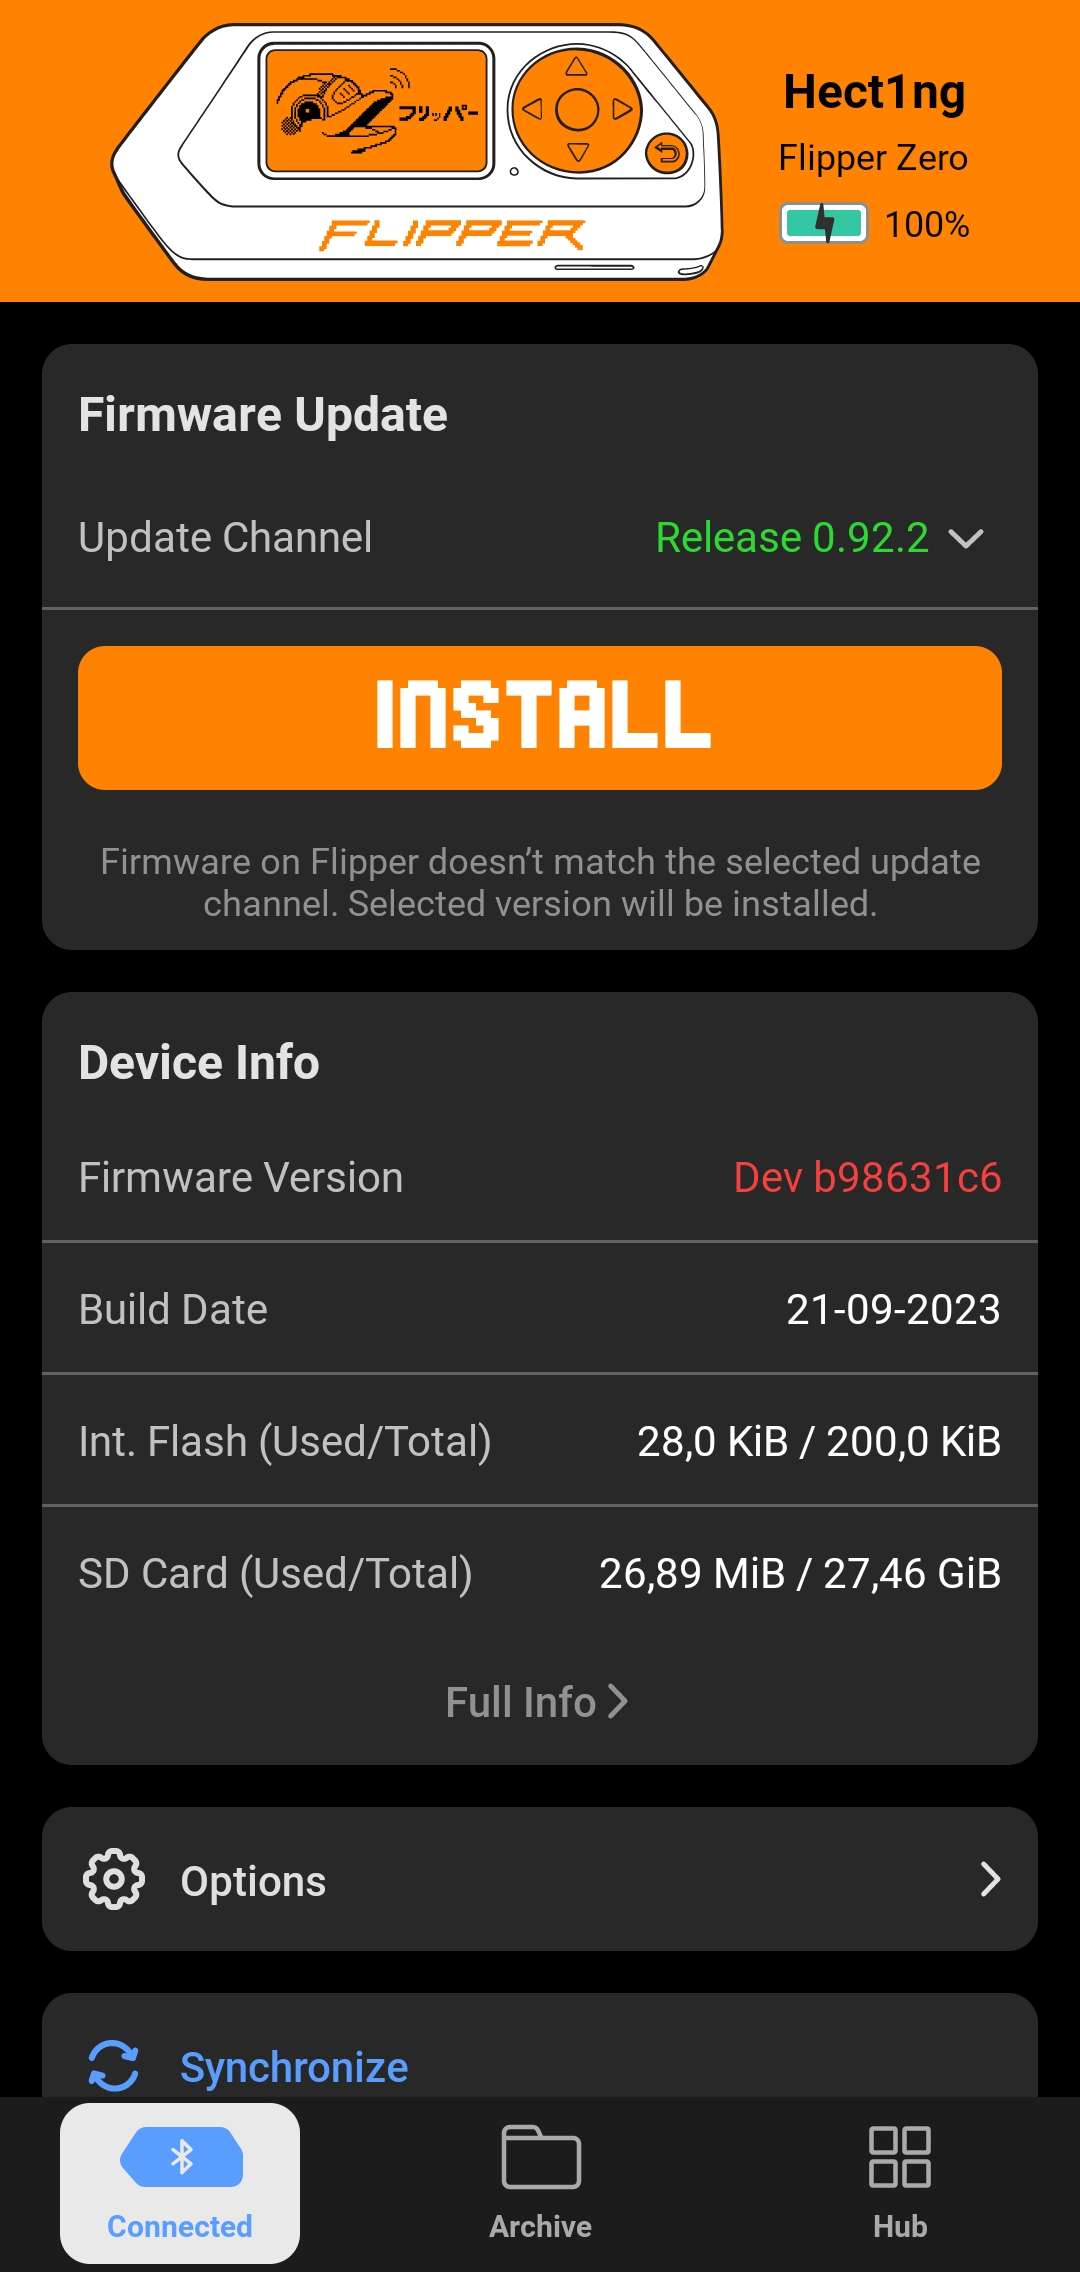
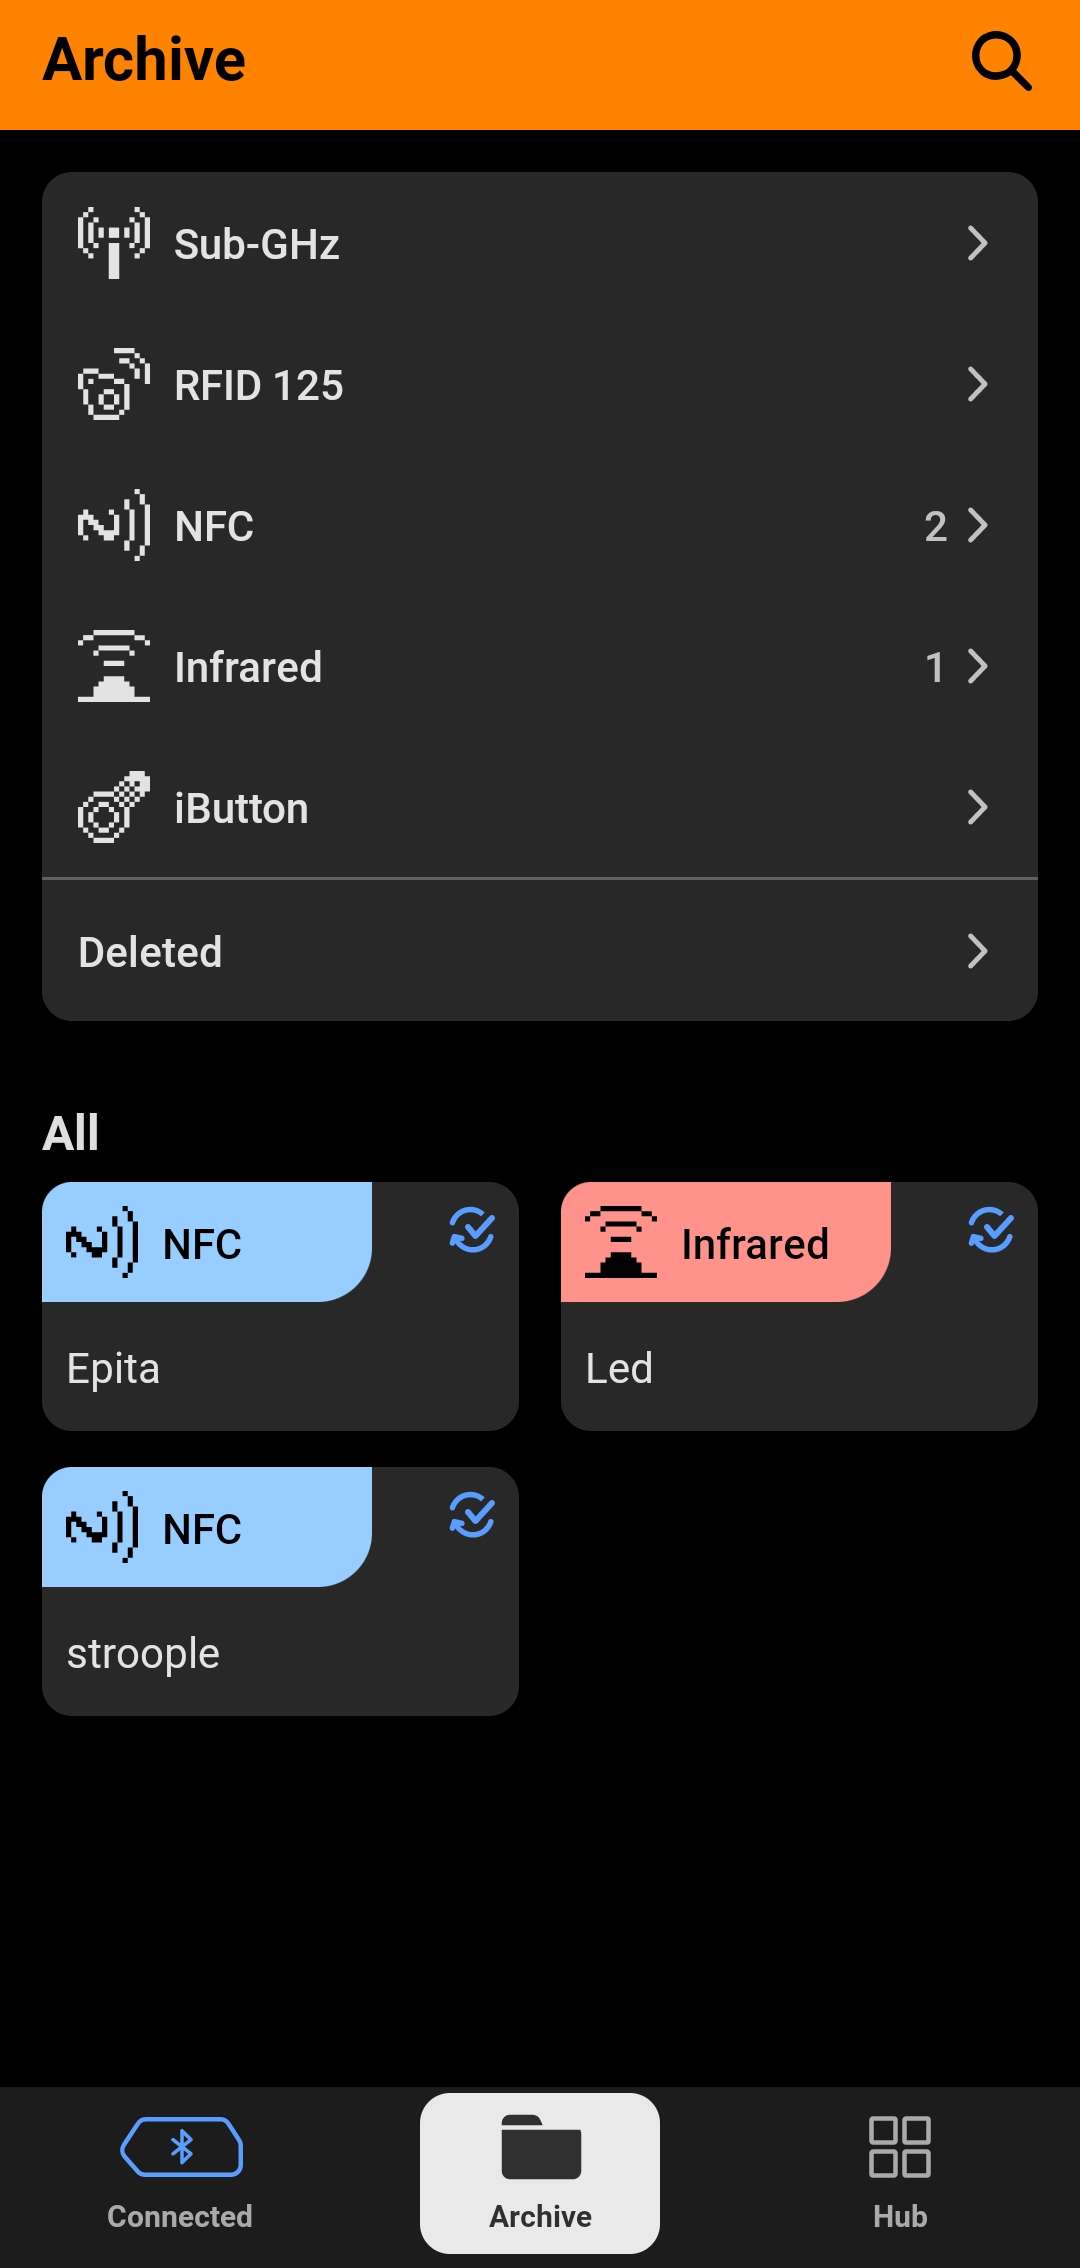
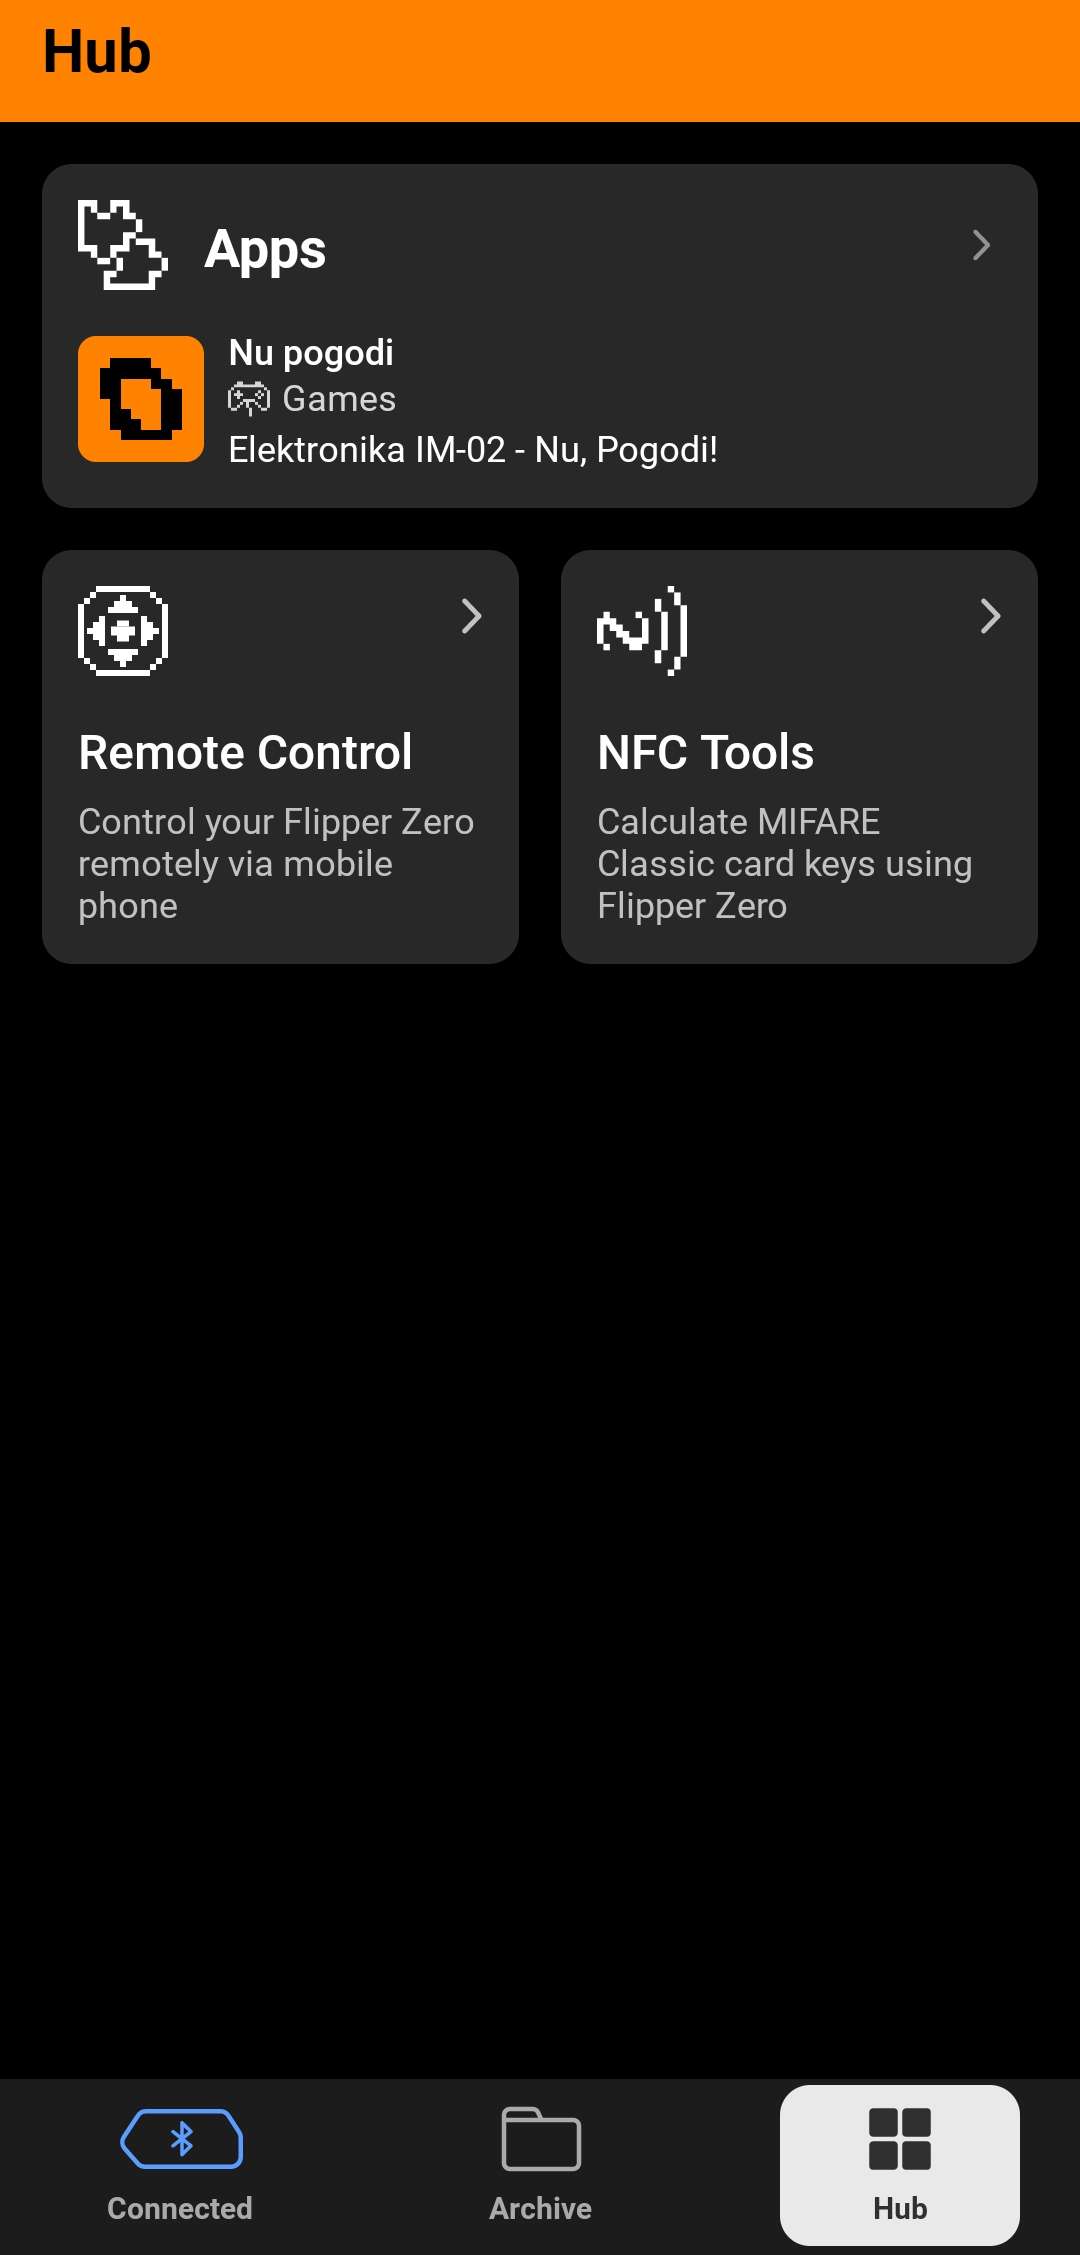
The mobile application is more complete. This application let you install and upgrade the firmware. You can also save your files that you registered on your Flipper Zero. It has a built-in hub to install applications on your device. All these features communicate with the Flipper Zero through Bluetooth.
Tutorial
Tools and Installations
Requirements
A quite recent system is needed to build and flash your applications.
- Windows 10+ with PowerShell and Git
- macOS 12+ with Command Line tools
- Ubuntu 20.04+ with build-essential and Git
If you want more information, please refer to the documentation.
In this tutorial, I am using Windows 11 because of some troubles on Ubuntu 20.04 which can be related to this issue.
Firmware
The first step is to clone the firmware repository in order to have all the tools needed and the good version of the firmware. The recursive flag is required because this project uses submodules.
git clone --recursive https://github.com/flipperdevices/flipperzero-firmware.git
cd flipperzero-firmware
Visual Studio Code (Optional)
In this tutorial we will use Visual Studio Code (VScode) to edit and flash your application. The Flipper Zero has a great integration with it.
Then, to configure your VScode you have to launch this command.
./fbt vscode_dist
Now if you launch VScode in this directory, it will notify you to install all the needed plugins.
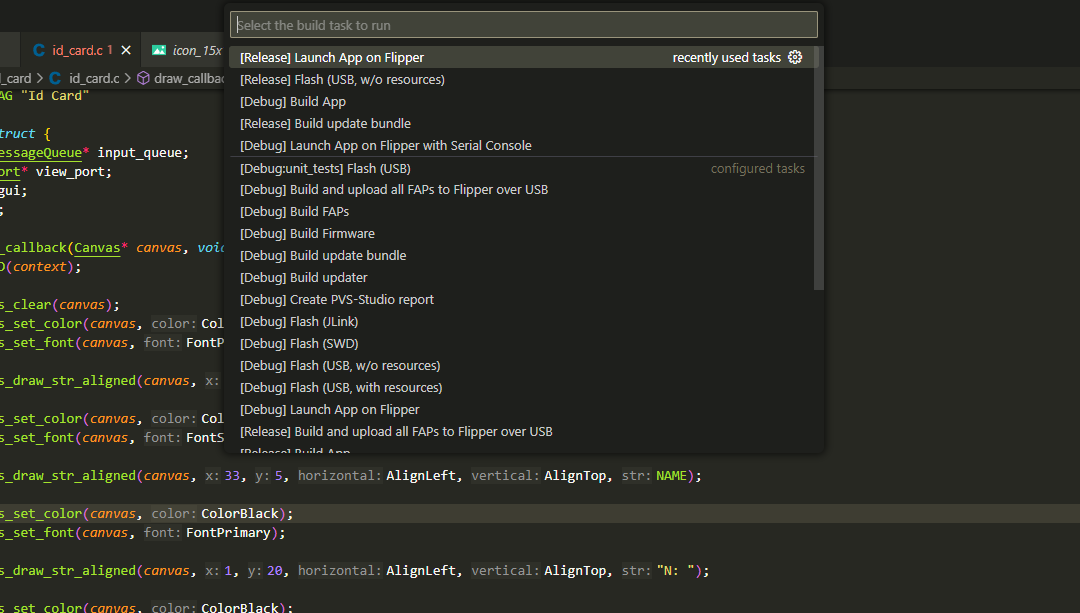
Now you can use the binding Ctrl + Shift + B to get a contextual menu to build and flash the firmware and your applications.
Build and Flash
The first step is to get a recent version of the firmware, so you have to select the version to develop on.
By default, you are on the dev branch which is not the most stable.
If you want more stability, the release branch is a better candidate.
Once you have selected the version, let’s plug you flipper zero and flash the firmware by USB:
./fbt flash_usb_full
Now, the only command to launch your application on your Flipper Zero is:
./fbt launch APPSRC=applications_user/path/to/app
For VScode users, you need to select
[Release] Flash (USB, with resources).
Create your application
Overview
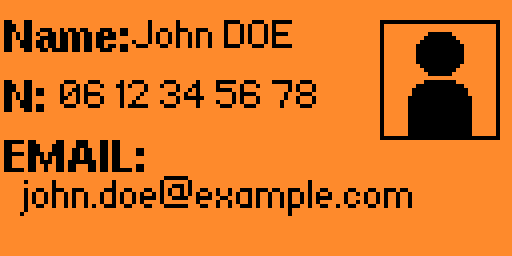
In this tutorial, we will build together a simple ID card application with a minimalist icon. It is a good first application to learn how to use the GUI with some texts and images and simple inputs. The application will display your name, your phone number and your e-mail.
All the code and resources are available on my Github.
Application manifest
Let’s start your project.
The first file to create is the application.fam.
It is a manifest file which will help the compiler to build correctly the application.
Here you can find a first minimal example:
App(
    appid="id_card",
    name="Id Card",
    apptype=FlipperAppType.EXTERNAL,
    entry_point="id_card_main",
    cdefines=["APP_ID_CARD"],
    requires=["gui"],
    stack_size=1 * 1024,
    fap_icon_assets="images",
    fap_icon="images/icon_10x10.png",
    fap_category="Misc",
)
appid: Id of the application, used to compile and flash it.name: Name of the application, displayed in menus.apptype: Type of the application,EXTERNALspecify to the compiler to make a.fapapplication.entry_point: The entry point of your application, like yourmainfunction in C.cdefines: C Preprocessor definitions to declare it globally.requires: Applications required by your application, specify the app ID.stack_size: Stack size allocated to your application.fap_icon_assets: Directory for your images and assets. Mandatory if you want to use images in your application.fap_icon: Icon for your application, must be 10x10 px.fap_category: Category of your application, your executable will be placed in this subdirectory.
The Official documentation can give you more information about this file.
Include files
Regular headers
In order to use the resources available on the Flipper Zero like the Screen or the SD card, you have to include some headers.
All the useful headers are placed in the application/sevices directory.
For this example, we will only use three headers specific for the Flipper Zero.
#include <furi.h>           # Used to have a message queue and log
#include <gui/gui.h>        # Handle all the GUI utils
#include <input/input.h>    # Handle the Inputs
Image assets
If you want to insert images in your application, you have to specify the directory of your image in the fap_icon_assets of your application.fam.
Then, include it as a header file like that: {app_id}_icon.h.
For example, if you want to include an image in your application example, you have to put this in your code:
|
|
This line will do some magic for you, generate all necessary variables and initialize it with the image’s values.
All you have to do is accessing to your image’s variable with this pattern: I_{image_name}.
For instance, if your image is named icon.png, the generated variable is I_icon.
Usefull structure
It is a good practice to have an internal data structure where all the necessary assets are stored.
In our case, we will define an Id_card structure that stores everything we need:
FuriMessageQueuepointer to store the user inputs.ViewPortpointer to handle the display.GUIpointer to the current GUI.
|
|
Main function
The entry point of the application needs to have the same name specified in the manifest file and has to match this signature:
|
|
In this main function, we have to do 3 things:
- Allocation and initialization
- Main loop and input handling
- Free structures and exit the application
Logging
Firstly, I will show you how to log your application. It can be very useful to log the execution of your application to trace it and know exactly what happened. To do that some macros are available easily.
For example:
|
|
To receive the logs, you have to launch the application in debug mode with the Serial console.
If you are using CLI tools, you can use the ./fbt cli command.
Select the
[Debug] Launch App on Flipper with Serial Consolein VScode.
Then type this line to display logs.
|
|
Now you can see logs of your application.
94084 [I][Loader] Loading /ext/apps/Misc/id_card.fap
94117 [I][Elf] Total size of loaded sections: 664
94120 [I][Loader] Loaded in 36ms
94123 [I][Id Card] Example
Allocation and initialization
This section depends on the assets you use, but this article will show you the minimum required for a simple application.
To store all the data structures, we will use the previously defined structure.
|
|
Then, we have to allocate a ViewPort and a FuriMessageQueue.
The ViewPort will handle your display in the GUI and the FuriMessageQueue will be used to handle user inputs.
After that, we need to set callback functions to draw on the GUI and the inputs.
|
|
Those callbacks will be defined later in this tutorial.
The next step is to add a GUI to the allocated ViewPort.
|
|
Main loop and input handling
In this part, we will look at the way to handle user inputs and its behaviour.
The structure of this part is pretty simple.
|
|
The veiw_port_update function calls the callback function to draw the updated GUI.
In this main loop, we have to get the last user input and check the error code.
|
|
In this line, we wait for the next user input and store it in the input variable.
Then, we check if there is an error in the furi_check function.
The next step is to get the user entry type and do the application’s logic.
In our case, we want to exit the application, whatever the key is entered by setting the exit_loop variable to 1.
|
|
This is the minimal way to handle user inputs.
Free structures and exit the application
The final step of the main function is to free all the data structures to exit properly the application.
Firstly, you need to disable your ViewPort, remove the GUI from the ViewPortand close the furi record.
Then, you can free the ViewPort.
|
|
Callbacks
An important part of the application is the implementation of callbacks to let the Flipper Zero know how you want it to behave. These callbacks are simply functions which are called by a handler. In our case, we will use a draw and an input callback as specified below.
Draw
The goal of this callback is to draw the GUI of your application. It will be called each time the GUI needs to be refreshed.
|
|
canvas: An internal variable that you will use to draw on the GUI.context: A variable which you can define and use to get some data in your callbacks.
The first step is to clear the screen:
|
|
Now, you can add everything you want to your GUI.
Texts
There are several given functions to configure and write text. For example, you can set the color of the font with the line below.
|
|
To set the font of the text, you can do:
|
|
Then, to **draw the text the function is:
|
|
Image
Display images is very simplified by the build system. It generates and initialize the variables for you and you only have to give this variable to a function.
|
|
Inputs
The input callback is pretty simple because the only thing to do is to put the new InputEvent into the message queue.
This event will be handled by the main function written before.
|
|
Conclusion
This tutorial is over, now you can build a basic application with simple GUI and inputs handling. If you struggle at any step of this tutorial, you can check it in my Github repository.
I really like working on this tutorial and explore the development environment of the Flipper Zero. I think it is a good entry point to start embedded development with a simplified interface with the device. The first look at the documentation and the firmware can be a little bit hard, but once we start it is pretty straight forward.
I was very impressed by the community around the Flipper Zero. There are several community repositories that are really interesting on multiple domains.
Here are some interesting projects which can be inspiring:
- Good faps
- FlipperZero_plugin_howto
- Plugin tutorial
- Doom
- BPM tapper
- ESP32 Board
- TPU Case
- WIFI Marauder
Going further
Use the Flipper Zero hardware
A good way to start developing an application with hardware usage as NFC or infrared is to find examples and understand how it work. Another way to learn how to develop an application like that is to explore the firmware source code and try to find interesting functions.
Use rust
If you are a rust enjoyer and want to try it on Flipper Zero, you can try it with this Github account.